Verizon prepaid phone bills can be confusing to navigate, and it’s easy to make mistakes when paying them online or in person at the Verizon store. Here’s how to pay your Verizon prepaid phone bill online, over the phone, and in-person at the Verizon store, so you don’t overpay or accidentally miss a payment and incur extra fees. Go to Top my cell to learn how to pay Verizon prepaid phone bills correctly every time!
Step 1: Login to your account
Verizon’s online prepaid service requires you to create an account before you can make payments or check your balance. It takes just a few minutes, and most of it is optional. You’ll need to choose a username and password for yourself and enter your cell phone number. If you sign up for autopay (more on that in a minute), you’ll also have to add your bank information.
Step 2: Go to the View Account section.
After logging in:
- Click on View Account to bring up your account details.
- Scroll down to find Payment Information and click on that link. You will see options for managing your automatic payments under Prepaid Payment Options.
- Click on Add or Edit to make any changes as necessary.
Step 3: Select Pay My Bill Now
Select Pay My Bill Now from Payment Information at the top left. Select your preferred payment method and enter your account number and PIN or access code information on the next page.
When you are ready to proceed, choose Print This Page for Future Reference or Add Payment Method to PayPal. If you decide to add your payment method to PayPal, follow the instructions on the screen.
Step 4: Enter your payment details
Instead of paying for your plan in total, most carriers offer a payment plan. If you can’t afford to buy your phone outright, taking advantage of a payment plan can be a great option for you. For example, T-Mobile’s payment plans allow customers to break down their payments into 24 monthly installments; Sprint offers 18 equal monthly payments, and AT&T allows up to 30 equal monthly payments.
This way, you’ll be able to minimize your upfront costs by spreading them out over time while still receiving service. Be aware that these plans will charge interest on top of your regular carrier bill—but they are better than financing through one of those sketchy third-party stores that make it easy to run up a massive tab with charges.
Step 5: Confirm payment details
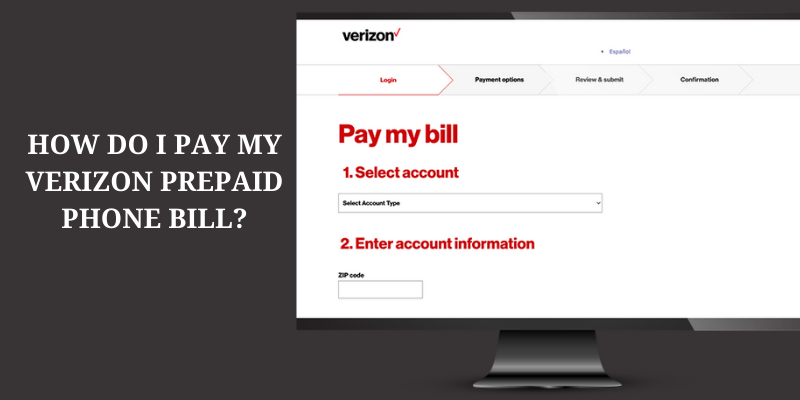
Make sure you have your bill available and a credit card, checking account, or electronic payment system if you have one set up. You will be asked to enter your phone number, zip code, and payment information. Be prepared with a password or verification of some kind.
If using an electronic payment system such as PayPal, Amazon Payments, or Apple Pay, log in before beginning your transaction and confirm that funds are available for purchases when necessary. The next page will ask for confirmation of billing information—again, make sure it is correct before continuing.
Remember, you can always print off or email yourself a copy of your invoice or receipt if needed to avoid any billing errors later down the line. Here you will learn about how to arrange debt payments?
Step 6: Choose your payment method
After you’ve added funds to your account, there are a few different ways to make a payment. If you have access to your bank account, you can use an electronic funds transfer (EFT) to pay directly from your bank account to our bank. This way is free and can help ensure that you don’t forget or miss a payment. You also have two other options for making payments with Eftpos cards and purchase orders.